
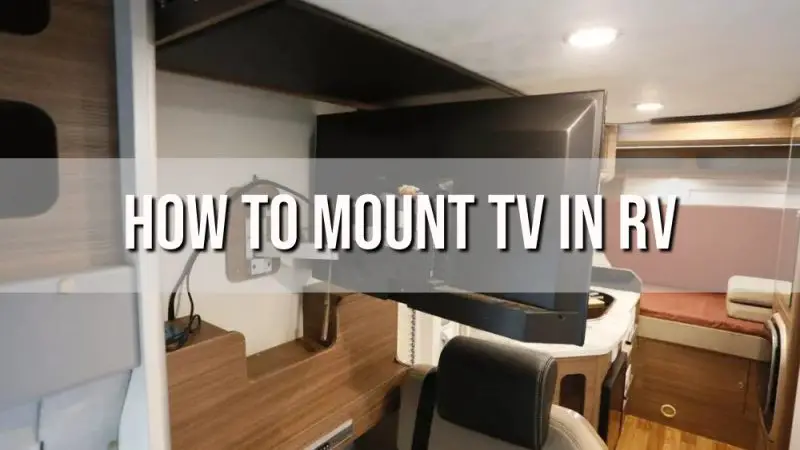
Mounting a TV in an RV allows you to enjoy entertainment while on the road. However, the installation process differs from mounting a TV in a house due to the unique RV environment. There are several factors to consider when determining the best way to mount TV in RV, such as power sources, cable and antenna connections, safety concerns, and finding the optimal viewing angle and location. This article provides a step-by-step guide for properly installing a TV in a recreational vehicle, ensuring it is secure, functional, and enhances the overall RV experience.
Key Takeaways
- Assess your RV’s available 12V and 120V power sources and cable inputs when choosing a TV.
- Consider the TV’s viewing angle and mounting location for optimal visibility.
- Use a mount designed for RVs that secures to the wall studs.
- Connect cables neatly and safely by routing through walls or using cable covers.
- Add securing straps or braces for travel to prevent TV movement.
- Follow manufacturers’ weight limits and mounting instructions.
Selecting an RV TV and Mount
Choosing the right TV and mounting system is the first step to mounting TV in RV. Consider the following:
TV Size
Decide on a TV size based on room dimensions and viewing distance. Measure the area to determine the maximum TV size the space can accommodate. As a general rule, the optimal viewing distance is 1.5-2.5 times the diagonal screen size. Keep in mind that bigger is not always better in compact RV spaces.
Power Source
Make sure the TV is compatible with the RV’s electrical system. Most RVs have both 12V DC and 120V AC power. Choose a 12V DC TV for dedicated use while dry camping or boondocking to avoid draining batteries. If camping with shore power, an AC TV is an option but will not operate without 120V. RV-ready TVs can run on both 12V and 120V.
Inputs and Connectivity
Determine what connections are needed, such as coaxial cable for antenna, HDMI for streaming sticks, or component inputs for a DVD player. Ensure the TV has enough ports for the desired devices. HDMI and USB inputs are most common. Opt for a smart TV with built-in WiFi if using streaming apps.
Mounting System
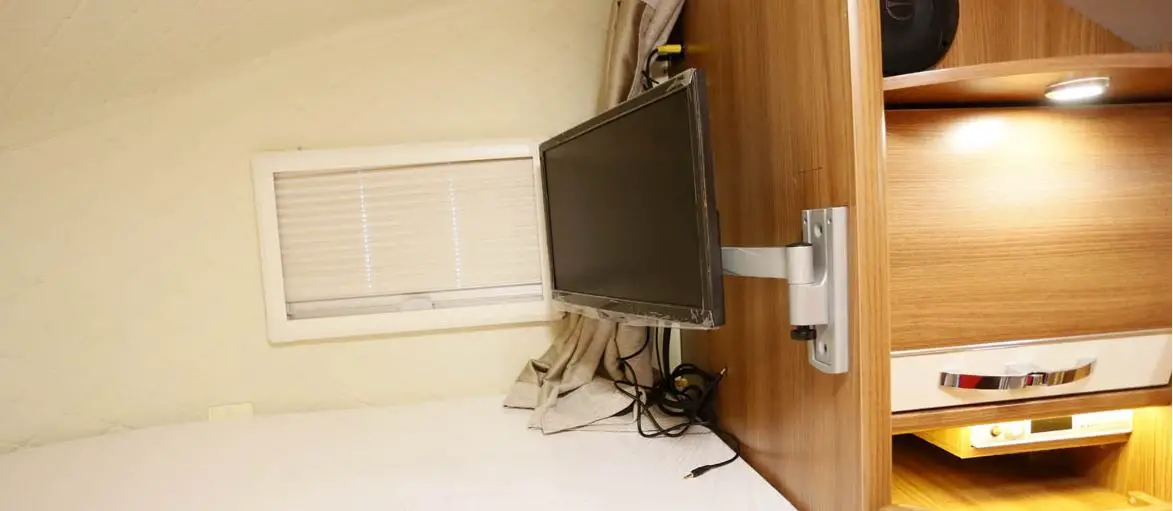
TV mounts designed for RVs attach directly to wall studs and provide articulation for adjusting the viewing angle. Choose a mount rated to safely hold the TV’s weight and with enough articulation for the intended viewing position.
Physical Size and Weight
For RVs, lighter and thinner is better. Large, heavy TVs are harder to mount securely. Newer LED TVs are lightweight, low-profile options suitable for compact spaces.

Where to Mount TV in RV
Choosing the right location is key for ergonomic viewing, space planning, and installation.
Height
Mount the TV at eye level while seated for optimal viewing. For many RVs, mounting 50-60 inches above floor level is appropriate. If installing at an unsafe height to reach, consider adding a small step stool.
Viewing Angle
Mount the TV where it can be viewed straight on as much as possible. Avoid mounting on an adjacent wall to the main seating which creates a sharp viewing angle.
Distance from Seats
Position the TV within the ideal viewing distance from the main RV seating. Measure the main viewing position to the potential mounting location to ensure it meets the 1.5-2.5X screen size rule.
Available Space
Consider existing furniture, cabinets, and appliances when choosing a location. Look for adequate mounting surface away from heat sources like stoves.
Aesthetics
Find an open wall space that looks balanced within the room. Mounting it too high or low on a wall can look strange. Centering the TV on a wall typically provides nice symmetry.
Access to Inputs
Mount the TV where accessible ports can conveniently connect to devices. Having to reach around the back of a mounted TV is highly inconvenient.
How to Mount TV in RV
Follow these steps to securely install a TV in an RV using proper mounting equipment and technique:
Gather Tools and Supplies
- TV mount designed for RVs
- TV mounting screws appropriate for RV wall type
- Drill and drill bits (1/4″, 3/8”)
- Stud finder
- Level
- TV cables: power cord, coaxial, HDMI, etc.
- Cable management system: wire covers, ties, adhesive hooks
- Personal protective equipment: safety goggles, gloves
- Helper for lifting TV
Prep the Mounting Surface
Choosing the proper mounting location is crucial for a secure and aesthetically pleasing TV installation. Thoroughly examine the intended mounting wall to determine optimal placement. Look for a flat, smooth section of wall that has sufficient space around it to accommodate the TV size. Avoid mounting over vents or near windows that experience vibration during travel. Check both vertical and horizontal placement to ensure the TV will have a natural-looking position on the wall.
Use a high-quality stud finder to locate the wood studs inside the wall framing. Slowly slide the finder vertically and horizontally across the entire surface, marking stud centers with a pencil or painters tape. Studs in RV walls are normally spaced 16 inches apart. Confirm stud locations by gently knocking on the wall and listening for a solid sound. Hollow sounds indicate empty wall space between studs. Accurately marking stud positions is imperative for proper mounting.
Thoroughly clean the determined mounting area with isopropyl alcohol, mild detergent, or other degreasing cleaner. Eliminate any built-up dirt, grease, or debris that could impede adhesion. Wipe the wall until completely dry. This helps maximize contact between the mounting hardware, TV bracket, and wall surface. Failure to properly clean could result in the mount slowly detaching over time.
Install the TV Mount
The mounting bracket must be securely fastened into the wall studs in order to safely hold the TV’s weight. Consult the installation manual included with the mount for explicit instructions particular to that model. Typically, at least 2-4 screws will attach through the mount plate or base into the marked studs using a power drill. For standard wood framing, 3/8” to 1/2″ lag bolts or wood screws are recommended. Drill pilot holes at the marks to avoid cracking wood.
Use a level frequently during installation to ensure the mount sits completely vertical and horizontal. Improper leveling can result in the TV sitting crooked on the wall. Fully tighten screws into the studs according to torque specifications in the manual, using a calibrated torque-limiting drill adapter if possible. Overtightened screws can strip studs or crush drywall. Under-tightened screws lead to instability and an unsafe mounting.
If possible, attach the mount spanning two studs or using toggle bolts in the hollow wall areas for added strength. Spreading across multiple studs better distributes the weight load. Follow all instructions for the number and pattern of screws. Carefully slide the TV bracket arms or plate onto the installed mount base before fully tightening all hardware.
Mount and Connect the TV
Television mounting requires at least two people – one to safely lift and one to attach to the mounted bracket arms. Refer to the manufacturer’s instructions for the proper sequence of hardware to attach the TV to the articulating arm brackets. Many models use hooks on the arms that fit into slots on the TV’s back plate.
Ensure all securing screws are tightened to the recommended torque without overdoing it. The articulating joints can then be loosened to allow tilting and swiveling the TV to the optimal viewing angle. Avoid tilting too far or exerting excessive rotational force during adjustment which could damage the arm joints. The arms can be folded in toward the wall while traveling.
All devices connecting to the television should be powered off during the installation process. Once secured to the arms, connect all necessary input cables such as power cord, HDMI from receiver, coaxial antenna line, and any other audio/video connections required. Neatly organize the wiring so that cables are not strained or pinched when articulating the TV.
Add Safety Restraints
While the mount may seem firmly attached, additional safety restraints are absolutely necessary when installing a television in a moving RV. Sudden stops, turns, and bumps can easily dislodge an improperly secured TV. Solid hook and loop style straps should be attached from the top corners of the mount to wood wall studs nearby.
Restraint straps prevent bounce and forward motion during travel. Place an L-bracket at the base corners as well for limiting sway side-to-side and stabilizing the bottom. Never rely solely on the mount’s strength for securing. The restraints safeguard against the TV violently detaching and causing damage or injury. Always follow the weight limits for restraint products.
Adjust Viewing Angle
One benefit of articulated mounting arms is the ability to precisely adjust the viewing angle after installation. While adjusting, have someone sit in the main TV viewing location. Loosen the arm joints and tilt/swivel the TV until it is squarely centered in front of the viewing position. This provides the optimal angle for proper ergonomic TV watching and reduces glare.
Fine-tune the height and direction incrementally. Move the TV too far or turn excessively during adjustment and you risk damaging the arm articulations. Have your helper confirm the position looks centered, level, and natural from the primary viewing area. When confident with the angle, carefully re-tighten all locking knobs and joints on the arms without overdoing it. Periodically check for loosening and re-tighten if necessary.
Following these detailed steps will result in a professionally mounted, properly angled television installation that looks fantastic and functions securely within the RV. Always adhere to the all instructions provided with the individual mounting products and hardware. Contact an experienced RV technician if unsure of any part of the process. Enjoy the entertainment!
Tips for Mounting TV in RV
Keep these tips in mind for safely and effectively installing a TV in an RV:
- Follow the manufacturer’s weight limits for the mount and your specific RV wall construction. Overloading can damage walls or cause TVs to fall.
- For extra support, look for mounting plates or brackets that attach to multiple wall studs.
- Neatly organize dangling cables with ties, tracks, and holders to avoid tangled tripping hazards.
- Mount the TV bracket slightly higher than the ideal TV position to allow tilting downward for viewing.
- Test the mounted TV while parked, driving short distances, and making turns to check for movement before extended trips.
- Turn the TV off while the RV is moving to prevent image burn-in and reduce bouncing.
- Invest in an RV surge protector to prevent electrical damage to the TV while plugged into shore power.
- Consider mounting the TV on an articulating arm to allow positioning flush with the wall during travel.
- Use blackout curtains or shades on windows opposite the TV to reduce daytime glare.
Conclusion of Mount TV in RV
Taking time to properly install a TV in an RV using the right mounting equipment results in secure TV placement that looks great while parked and stays safely in place while traveling. Evaluate the seating location, room dimensions, TV size, available electrical, and required cables when planning optimal TV positioning. Follow manufacturer’s instructions for installing a sturdy RV-specific articulated mount into wall studs. Neatly route and hide cables to avoid clutter and tripping hazards. Always restraint the mounted TV while the RV is moving. By mounting the TV at the ideal height and angle following these tips, you can enjoy entertainment conveniently on the road.
Frequently Asked Questions
What size TV should you put in an RV?
Consider the room size but generally 32-50 inches is ideal. Measure the viewing distance and multiply by 1.5-2.5X to find a TV size that is not too overwhelming for the space but still provides sufficient image size and quality.
How do you hide RV TV wires?
Neatly run cables through the inside of walls to hide. For surface wiring, secure cables to arms using clips and channels. Adhere cord covers or tracks along the wall in a straight path. Use coaxial wall plates. Group wires together inside of wire looms.
What is the best way to mount a TV in an RV?
The best method is using an articulated mount specifically made for RVs that attaches securely into wall studs. Follow all manufacturer instructions for proper installation. Add hook and loop restraint straps on the corners for safety while traveling.
How do you wire a TV in an RV?
Connect all cables like power cord, coaxial, and HDMI to the back of the TV first. For a clean install, run the wires through the interior walls. If surface wiring, adhere cable channels along the corners or use ties and holders to neatly group wires. Insert coax and power into wall plate connectors.
Can you mount a TV above an RV door?
Yes, but the door frame usually lacks proper studs to mount to. Add a mounting board secured properly into ceiling and floor studs, and attach the TV mount to that. Consider a swing arm to move TV away from door when people pass through.
What is the minimum space needed for a TV in an RV?
As a general rule, allow at least 1.5-2X the diagonal screen size from the viewing position. For a 50” TV, the ideal distance is 6-10 feet. Additionally, leave 4-6 inches of space around all sides of the TV for ventilation and cables.
How do you secure a TV in an RV while traveling?
Use hook and loop restraint straps in each corner attached securely to wall studs. Alternatively, angle iron metal brackets attached to the wall studs can brace the TV sides. Avoid bungee cords. Turn TV off while driving.
What type of TV is best for an RV?
A 12V DC LED TV or an AC TV with built in inverter that can run on both shore power and 12V are best for RVs. RV ready TVs have weather-resistant features and inputs suitable for recreational vehicles. Look for a slim, lightweight model.
What is the lightest TV for an RV?
LED TVs are lighter than older LCD and plasma models. Look for TVs in the 10-15 lbs range or less. LG, Samsung, and Vizio make lightweight smart TV models suitable for RVs. Always follow individual mount weight ratings.
Do I need a special mount for an RV TV?
Yes, it is recommended to use an articulated, multi-arm TV mount designed specifically for RV mounting rather than a standard fixed wall mount. RV mounts attach securely into wall studs and allow more viewing angle adjustment in confined spaces.
How do you wire RV TV to battery?
Use a 12V TV or install an inverter that can provide 110V AC power to an AC TV from the 12V battery. Connect the TV power and other AV cables to the RV outlets and antenna. Consider wireless connections like WiFi and Bluetooth to avoid excessive wires.
Can you mount a TV above RV dining table?
Yes, the space above a dinette is a common spot to mount the TV for viewing from the table seats. Measure to find studs, confirm it meets viewing distance recommendations for the TV size, and install a secure articulated RV mount.
What is the best WiFi booster for an RV?
Some good WiFi range extender options for RVs include the Winegard ConnecT 2.0, Netgear Nighthawk, TP-Link RE650, and the Linksys RE9000 Max-Stream. Position the router near a window for best reception.
How do you hang a TV on an RV wall?
Use an articulating TV bracket designed for RVs that attaches securely into the wall studs, allowing adjusting of viewing angle and folding flat to wall when traveling. Add hook and loop restraint straps from the mount to framing as a safety measure. Follow all weight limits.
Where are the studs located in RV walls?
Most RVs have studs every 16 inches on center horizontally and vertically inside the walls. Use a stud finder to locate studs and mark. Confirm by knocking and listening for a solid sound vs. a hollow wall noise. Attach into the studs whenever possible.
What gauge wire do I need to run power to my RV TV?
For most RV TVs under 50″, a 16 or 14 gauge wire is sufficient for handling the amp load. Measure length needed and refer to amp rating when selecting wire gauge. House wire and coaxial cable are good RV wiring options.